Showing posts with label sewing. Show all posts

Thursday, August 4, 2011

My latest project...

Remember that little teaser I gave you back here? You know, the fabric swatches I showed at the bottom of the post? Well...I did something with them!  Wanna see??


It's called a quillow, and I learned how to make it from this excellent tutorial: Quillow

It's a gift for my first niece {yet to be born/named}.

It is aptly named a "quillow" as it is a quilt, that folds into a pillow! Genious!

The colors were chosen after Baby Girl's momma, D, asked me about acquiring some felt in a few particular colors: mustard yellow, light and dark aqua, red, chocolate brown, orange, light and dark gray, and white.  I decided to use this as my color inspiration, and I think it came together rather nicely!

I decided to hand tie the quilt (rather than machine quilt it) to preserve some of the fluffiness.  Unfortunately, I neglected to get a picture of the "hand ties."

The front of the quillow is light aqua with chocolate brown flecks, and is decorated with this little guy


as well as some hand stitched "swirls." Here is another view of the quilt portion.


And this is a view of the quilt top with the coordinating fleece backing. 


Elephants weren't in my original plan, but when I was looking for a cozy backing for the quilt, I stumbled across this fleece. It had EVERY SINGLE COLOR in it, and {i thought} coordinated perfectly!  Thus, the elephant theme was born. So cute! The quillow is for a little girl, and although elephants don't usually scream GIRL to me, there are some really pretty prints on some of the elephants {you can sort of see them in the picture} that I thought made it just feminine enough.
I traced the outline of one of these guys and used that pattern to make the elephant for the front of the quillow. Hope Baby Girl likes elephants!

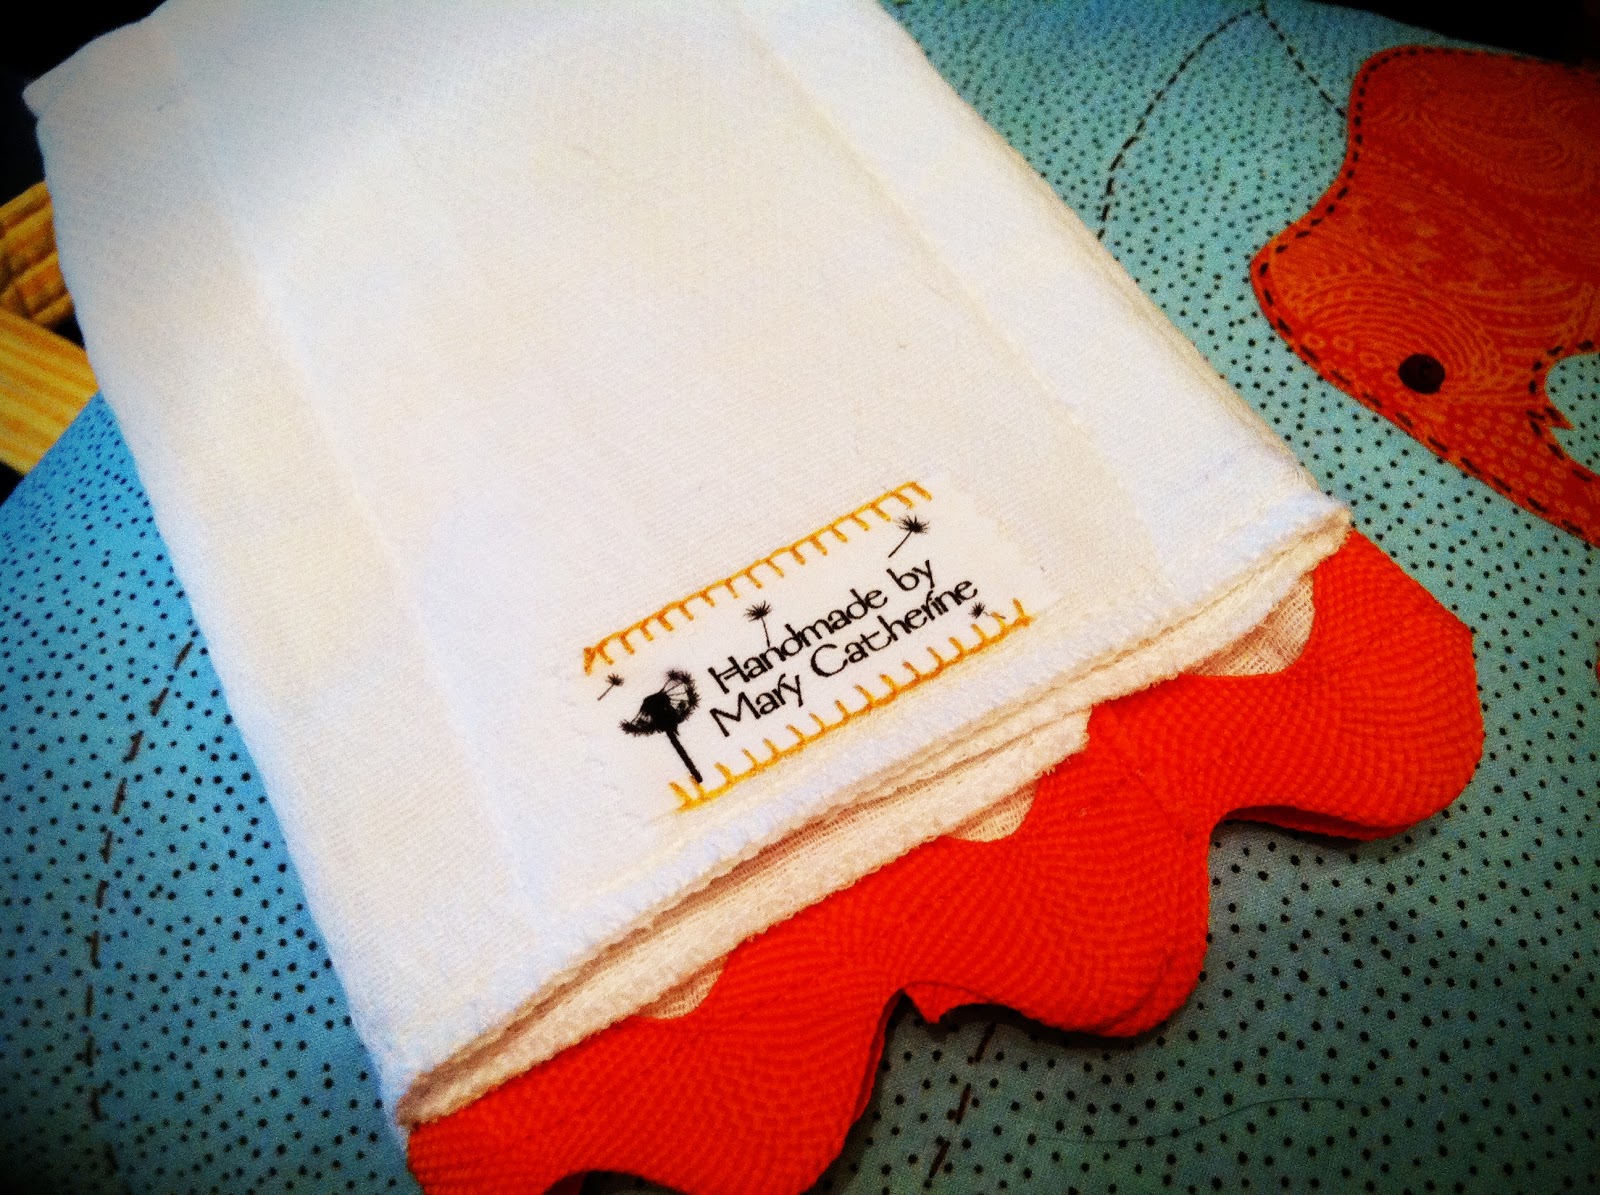
Oh...and I couldn't resist stitching on one of my new labels! 


I had so much fun making this little gift for my first niece! I hope she knows how much she is already loved!

What do you think?

Thursday, July 28, 2011

My own label!

As you all know, I am a bit of a crafter at heart. I make a lot of the gifts I give and wish that I had more of a way to "mark" those gifts with a personal touch ... enter my new "fashion" labels! I am so excited about these! Right now they are pretty generic, but as I am able to devote more time to my side "business," I see them with my own logo {yet to be developed} and with my brand name instead of my own.
These are great for now, though!

I got them from a little shop on Etsy called Mommie Made It.

I admit that my design is pretty plain jane, but I was overwhelmed with the options!

Like I mentioned previously, my goal is to have custom labels one day. For now, these will do just fine!

 Wanna see?  Ok!


I think they are pretty swell!

On another note, we got some lovely okra in our CSA bag today and my FAVORITE summertime treat: yellow cherry tomatoes! YUM! These things are like candy!  I think we're going to have a selection of veggies for dinner tonight - and there may or may not be fried okra involved...

Tuesday, February 22, 2011

T-Shirt Transformation

OK, the title of this post is a little misleading. This is not ACTUALLY a T-Shirt transformation, it's more like a T-Shirt "fixin."

A few weeks ago a work colleague of mine presented me with one of her daughter's T-shirts. The shirt was special (she had gotten it on a trip to Auburn University) - which is why it needed to be fixed rather than be replaced. On the rear of the right sleeve was a large tear/hole. The mission {if I chose to accept}was to repair the hole in any way possible. My mission {that I chose to accept} was to repair the hole in a way that  would appear intentional. I didn't want anyone to know that this was  a repair job.

I started off planning to put a patch over the whole, but got stuck due to the location.  The tear is on the back side of the sleeve, so the patch would need to be quite large in order to be symmetrical.  I was NOT happy with this solution...so the shirt just sat and sat in my sewing room until the idea smacked me in the head this morning!

*DISCLAIMER: Please excuse my bad blogging etiquette. These pictures were taken at night using the camera in my phone. *

Here is the T-Shirt and hole {I have already patched the hole in this picture - to keep the tear from worsening.}


I cut the sleeves off an old orange T-shirt and made a band for each sleeve. I made sure the band was wide enough to cover the hole. I put a tiny hem in each side of the band {just so there were no raw edges} and then zig-zagged the band on -- to give the shirt a "jersey" look.


Here is the finished product {the bands are actually the orange color in the above photo - not whatever strange cantaloupe color is seen below}.

Here it is showing the Auburn logo on the front.


I'm ashamed to say how long it took me to come up with this simple solution for this little issue, but i'm glad to have the problem fixed so that I can return this T-shirt to it's rightful owner! I sure hope she's satisfied!

Monday, February 21, 2011

Weekend Update {In Pictures}


As this long weekend draws to a close {I was off for President's Day - for those of you who had to work, I'm sorry!}, I find myself thankful for many things.

Of those things, these three are at the top of my list:


  •  I am thankful for parents who are willing to use their long weekend to come to my house and work their fingers to the bone THE WHOLE WEEKEND
  • I am thankful for a husband who is supportive of my creative outlet - even when that means our home is disheveled for a few days while I create
  •  I am thankful for friends who are understanding of my {crafty} addiction and do not let my "flaking out" on things get in the way of our friendship


And now, a visual recap of my weekend:

Although the plan was to wake up bright and early to get started with the slip covering process on Saturday morning, a different project took precedence...


"What is that thing?" you might ask....well, that "Thing" is a little gifty for a sweet little cousin's 1st birthday! This little ballerina is sporting tie-on toe shoes, a removable tu-tu and a fancy hair piece (she is also wearing false eyelashes). Her "hands" velcro closed so she is great at practicing her ballet as well as giving hugs. Happy Birthday, sweet J!

After we got our creative juices flowing with the ballerina project, we then began the task of creating the slip covers. It started a little something like this...


Me: "What do we do first?"
Mom: "I don't know, let's just stare at the fabric for inspiration."

Ok, that's not exactly how it went. First we removed the cushions from the red couches. I guess I should show my "before picture".  Again, I should say that there is NOTHING WRONG with my current couches and ottoman - I am just tired of the red {it's pretty design limiting when the urge to change things hits}. 


Ok, so like I was saying, the first thing we did was remove the cushions from the cushion covers and then we used these covers as a base for our pattern for new covers.


Measure, measure, measure...


Sew...


Sew...


Sew...

{Dear Elna Sewing Machine Company, as you can see, we are an Elna family. You should give us some sort of prize. Thanks!}

The couch has three box cushions, the chair-and-a-half has one. Box cushions are NOT EASY! In addition to being hard to get lined up just so...they also require a TON of piping {in order to have that professional "finished" look}. To make piping, you need bias tape and cording. We purchased the cording and then made the bias tape. 


Measuring for the bias tape {bias tape is cut on the 45' angle} while mom removes a "learning opportunity" from a box cushion. 


Sewing the cording in the bias tape to make piping.


By Saturday night, we had what seemed like miles of piping made and had finished two cushions.  

Sunday was spent finishing the cushions. Don't they look great on the red frame? Perhaps I should just stop here... thoughts?


Once all the cushions were made, we started to make the rest of the slip cover. We saved this part of the project for last. Warning...neither of us has done this before. I started by using craft paper to make a pattern for the arms.


We added more piping to the arm pieces of the slip cover and then draped the rest of the couch frame with fabric and began to pin our seam lines. 


.


My old couch cushions were connected to the back of the couch. In this picture, you can see where we pinned the cushion covers down to the frame.


Once all the seams were pinned, we carefully removed the cover from the frame and sewed it together. 

This is not the final product {there is still a bit of hemming to do}... but it looks nearly complete! 


What do you think? Doesn't look like a slipcover, right? The beauty of this is that we can still use the pull out sofa beds in both couches, AND remove the cover for washing.  

I am loving it so far! 

Mom went home tonight and the couch is not yet complete - It still needs to be sewn. Also, I still have the ottoman to do. It's amazing how much time a project like this takes, but if you have the time and determination, it can certainly be a money saver. I tallied up the cost and at the end of the project, re- doing both couches and ottoman will have cost me $140 {including all material and notions - and YES I got a bargain on my upholstery fabric. Thanks, Sirs Fabric}.  To get one couch reupholstered {slip covers are MORE time consuming} it can cost between $1000 and $1500. Wow! 

Now that I have this more neutral palette in my living room, there are other changes in the works. 
Stay tuned!


P.S. - Like my pincushion at the top of the post? Another mini-project completed this weekend!


Thursday, February 10, 2011

Putting the FUN in FUNctional: baby gift set {part 2}

So today's half of this little set is a bit easier than yesterday - perhaps I should have started with this part...

Today we'll make a burp cloth that is made from a cloth diaper and has a band of material taken from the bandana we used  yesterday. Here is what the finished product will look like:


First things first. Press your cloth diaper. Now, cut a strip of fabric that is about 4 inches wide and about 2 inches longer than your diaper.  With RIGHT sides together, pin the edge of the fabric that will serve as the TOP of the band about 1.5 inches up from the edge of the diaper.


Stitch the fabric together, making sure that none of the design of the fabric that you want to show is in the seam line.  I used about a 1/3 inch seam allowance here {I just lined up the outside edge of my bandana fabric with the edge of my pressor foot}.


Turn the seam over, and press flat.


Now, flip the diaper over and press the other edge of the bandana under 1/4 inch. 


Now fold the edges of the bandana over the edge of the cloth diaper.


Finally, fold the bottom end of the bandana up over the edge of the diaper and pin in place. You can see how the edges remain folded in. This is a little bit like wrapping a present. 


Pin across the remaining edge


Now topstitch along the edge of the bandana - 1/4 seam.  That's it! I personalized mine with an initial.


What do you think?


Wednesday, February 9, 2011

Putting the FUN in FUNctional: baby gift set {part 1}

I don't know what stage of life you are in, but it seems to me that I am in the stage where EVERYONE {only a slight exaggeration} I know is having a baby! So exciting! This means that everyone I know is ALSO having a baby shower, which of course translates into the opportunity for a lot of cute little baby gifts! Shopping for baby stuff is fun, but making baby stuff...to me, that's where the real fun is.

I was inspired to create this gift set after flipping through Lotta Jansdotter's Simple Sewing for Baby {find it here}.

For this project you will need three items:

1 bandana
1 cloth diaper
1 old t-shirt {clean, of course} or scrap of jersey knit, flannel, fleece, terry cloth or other absorbent fabric

We all know that bibs are for protecting baby's clothes from drool, spit-up, and food. This bandana bib uses a layer of absorbent fabric in order to soak up whatever goodies baby may leave behind.  {As a side note, if the absorbent fabric were fleece, this would make an adorable winter bib/scarf!}

Here's the whole set:

Today, I'll show you how to make the bib.

First press the bandana to remove any wrinkles. Then, fold it in half so it forms a large triangle. Measure up 13 inches {along the fold} from the point of the triangle.


From this point, cut straight across to the edge of fabric.


Next, measure down 1.5 inches on the diagonal edge of your new triangle.  Make a 3 inch cut at a slight angle and then cut down to the point of the bandana. The picture below shows what your cut should look like. 


Lay this piece on a folded piece of your absorbent material (I am using jersey knit). Follow along the lines you just cut so that your knit piece is now the same shape as your bandana. 


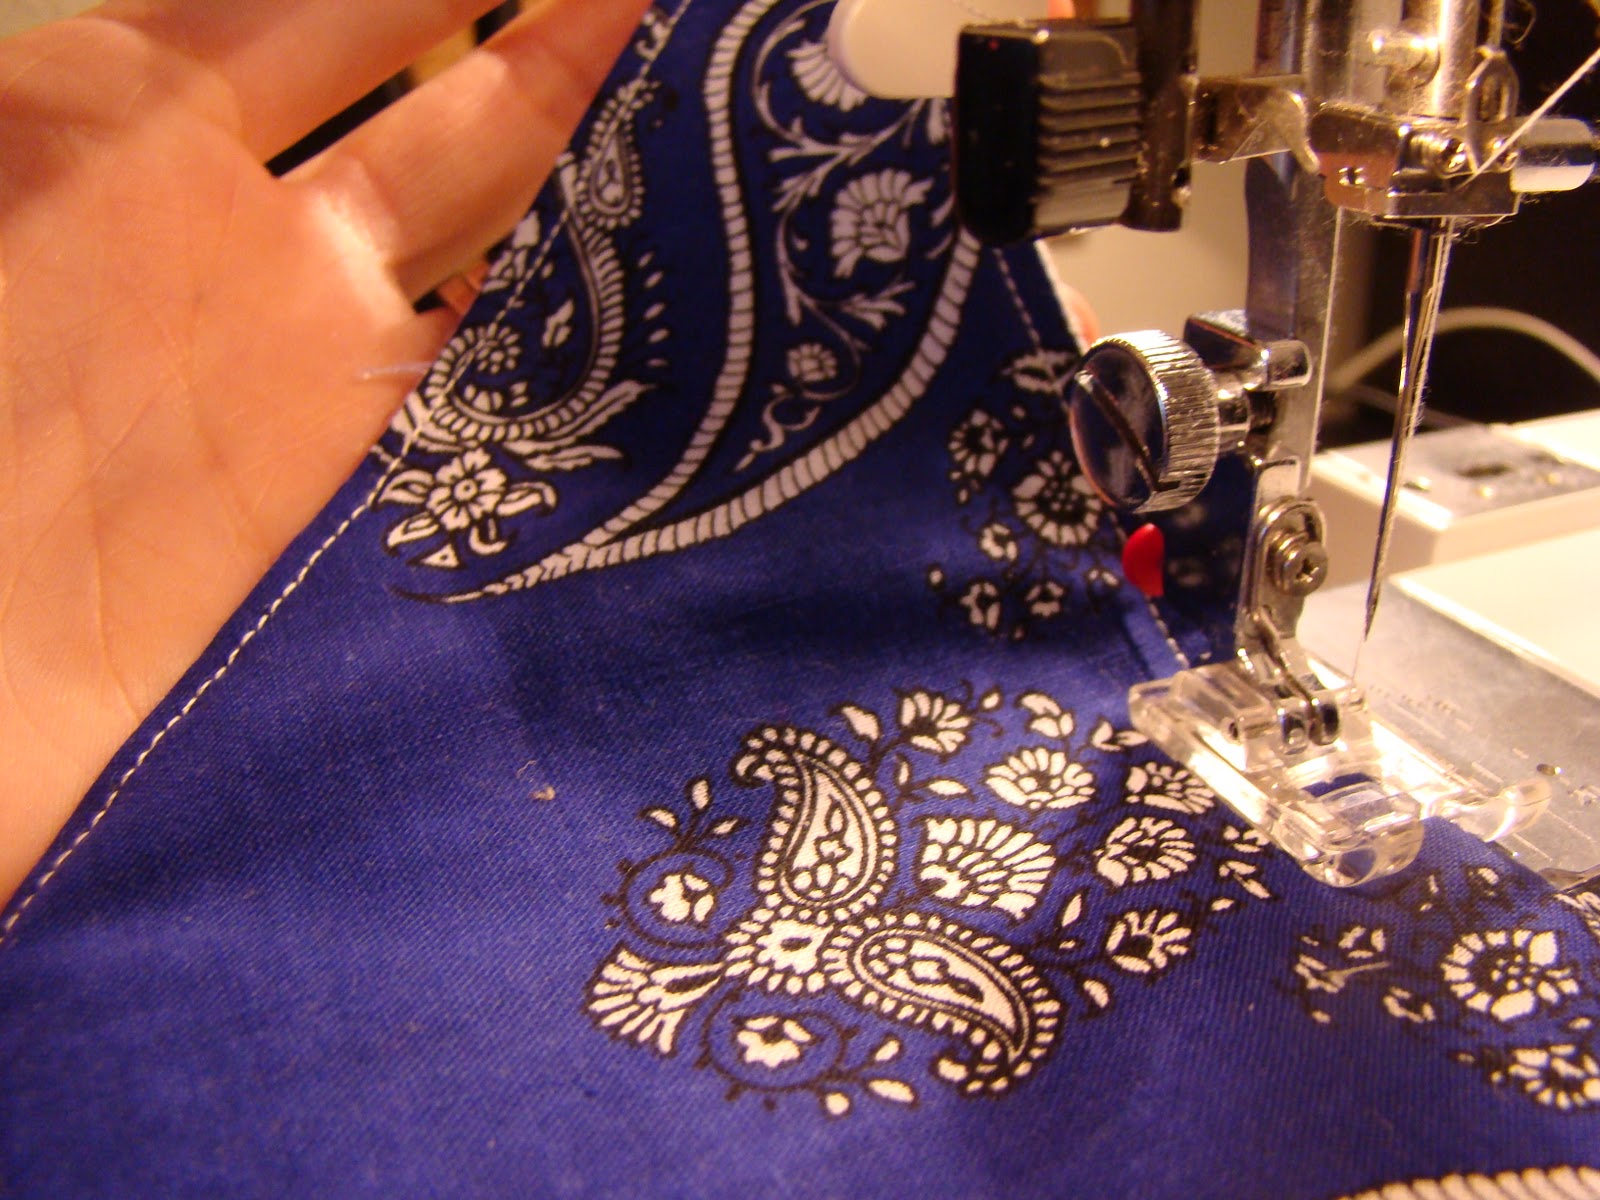
Now open up both pieces. Pin right sides together and sew. I allowed a 5/8 inch seam allowance. Leave a space at the top without a seam so that you can turn the bib inside out and the seams will be on the inside.  If you zoom in on this picture you will be able to see the seam and the space at the top I left open. 


Now trim your seam to 1/4 inch and clip your corners. Do not trim the fabric where the opening is.


 Turn inside using a chopstick to get the corners sharp. Be careful not to poke the chopstick through the seam!  Once it is turned right side out, press the seams. Pin the fabric together where your seam opening remains. 


Top stitch all around the top of the bandana. I stitched about 1/4 inch.


Finished! My bandana will tie in the back, but you could add velcro, snaps, or a button here as alternate closures.  


Ta Da! 


Stay tuned for instructions on making the matching burp cloth!