I don't know what stage of life you are in, but it seems to me that I am in the stage where EVERYONE {only a slight exaggeration} I know is having a baby! So exciting! This means that everyone I know is ALSO having a baby shower, which of course translates into the opportunity for a lot of cute little baby gifts! Shopping for baby stuff is fun, but making baby stuff...to me, that's where the real fun is.
I was inspired to create this gift set after flipping through Lotta Jansdotter's
Simple Sewing for Baby {find it
here}.
For this project you will need three items:
1 bandana
1 cloth diaper
1 old t-shirt {clean, of course} or scrap of jersey knit, flannel, fleece, terry cloth or other absorbent fabric
We all know that bibs are for protecting baby's clothes from drool, spit-up, and food. This bandana bib uses a layer of absorbent fabric in order to soak up whatever goodies baby may leave behind. {As a side note, if the absorbent fabric were fleece, this would make an adorable winter bib/scarf!}
Here's the whole set:
Today, I'll show you how to make the bib.
First press the bandana to remove any wrinkles. Then, fold it in half so it forms a large triangle. Measure up 13 inches {along the fold} from the point of the triangle.
From this point, cut straight across to the edge of fabric.
Next, measure down 1.5 inches on the diagonal edge of your new triangle. Make a 3 inch cut at a slight angle and then cut down to the point of the bandana. The picture below shows what your cut should look like.
Lay this piece on a folded piece of your absorbent material (I am using jersey knit). Follow along the lines you just cut so that your knit piece is now the same shape as your bandana.
Now open up both pieces. Pin right sides together and sew. I allowed a 5/8 inch seam allowance. Leave a space at the top without a seam so that you can turn the bib inside out and the seams will be on the inside. If you zoom in on this picture you will be able to see the seam and the space at the top I left open.
Now trim your seam to 1/4 inch and clip your corners. Do not trim the fabric where the opening is.
Turn inside using a chopstick to get the corners sharp. Be careful not to poke the chopstick through the seam! Once it is turned right side out, press the seams. Pin the fabric together where your seam opening remains.
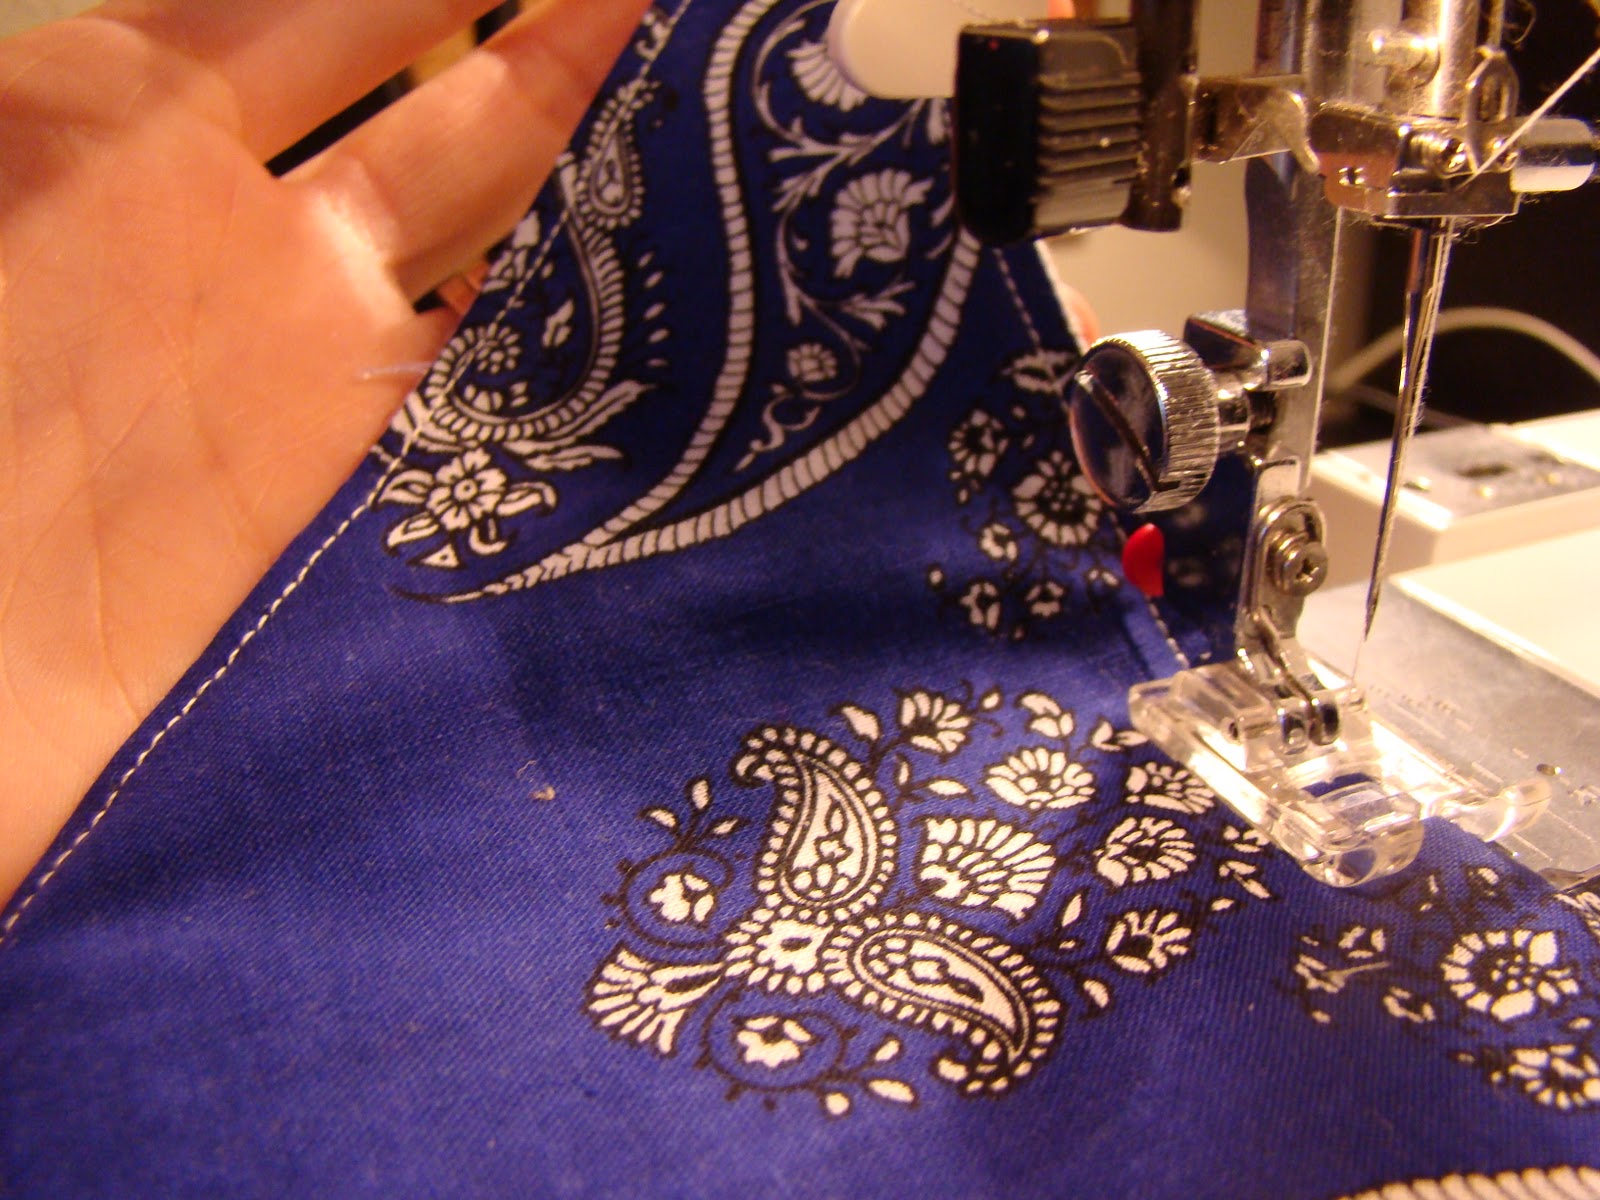
Top stitch all around the top of the bandana. I stitched about 1/4 inch.
Finished! My bandana will tie in the back, but you could add velcro, snaps, or a button here as alternate closures.
Ta Da!
Stay tuned for instructions on making the matching burp cloth!